Guide to Invitation Suites
You’ve sent out save the dates, booked your vendors, and now it’s time to think about your invitation suites! You’ll want to send out your invitations about 6-10 weeks before your wedding date (or 3-4 months for destination weddings), so if you’re planning to get them custom designed, you’ll want to start the process a couple months prior to your send-out date!
So, where do you even begin?! Invitations can be super simple and to-the-point, or they can be a whole pretty package of information and fun, or they can be somewhere in between. There are so many options, and tons of things to think about, so let’s get started.

Mint Photography

ML Photo+Film
How many should I order?
Remember to order the number of households, not your total number of guests. This is a mistake I’ve seen entirely too often. If your proposed guest count is 150, you don’t need to order 150 suites! Since many of your guests are families or couples, your total number of invitation suites will be lower. The best bet is to start listing out all of the guests in a spreadsheet — and start collecting addresses too! (This can be a pain, so might as well start early.)
I also recommend having at least 10-15 extra invitation suites, just in case you get any return-to-senders or have last-minute additions. Better safe than sorry!
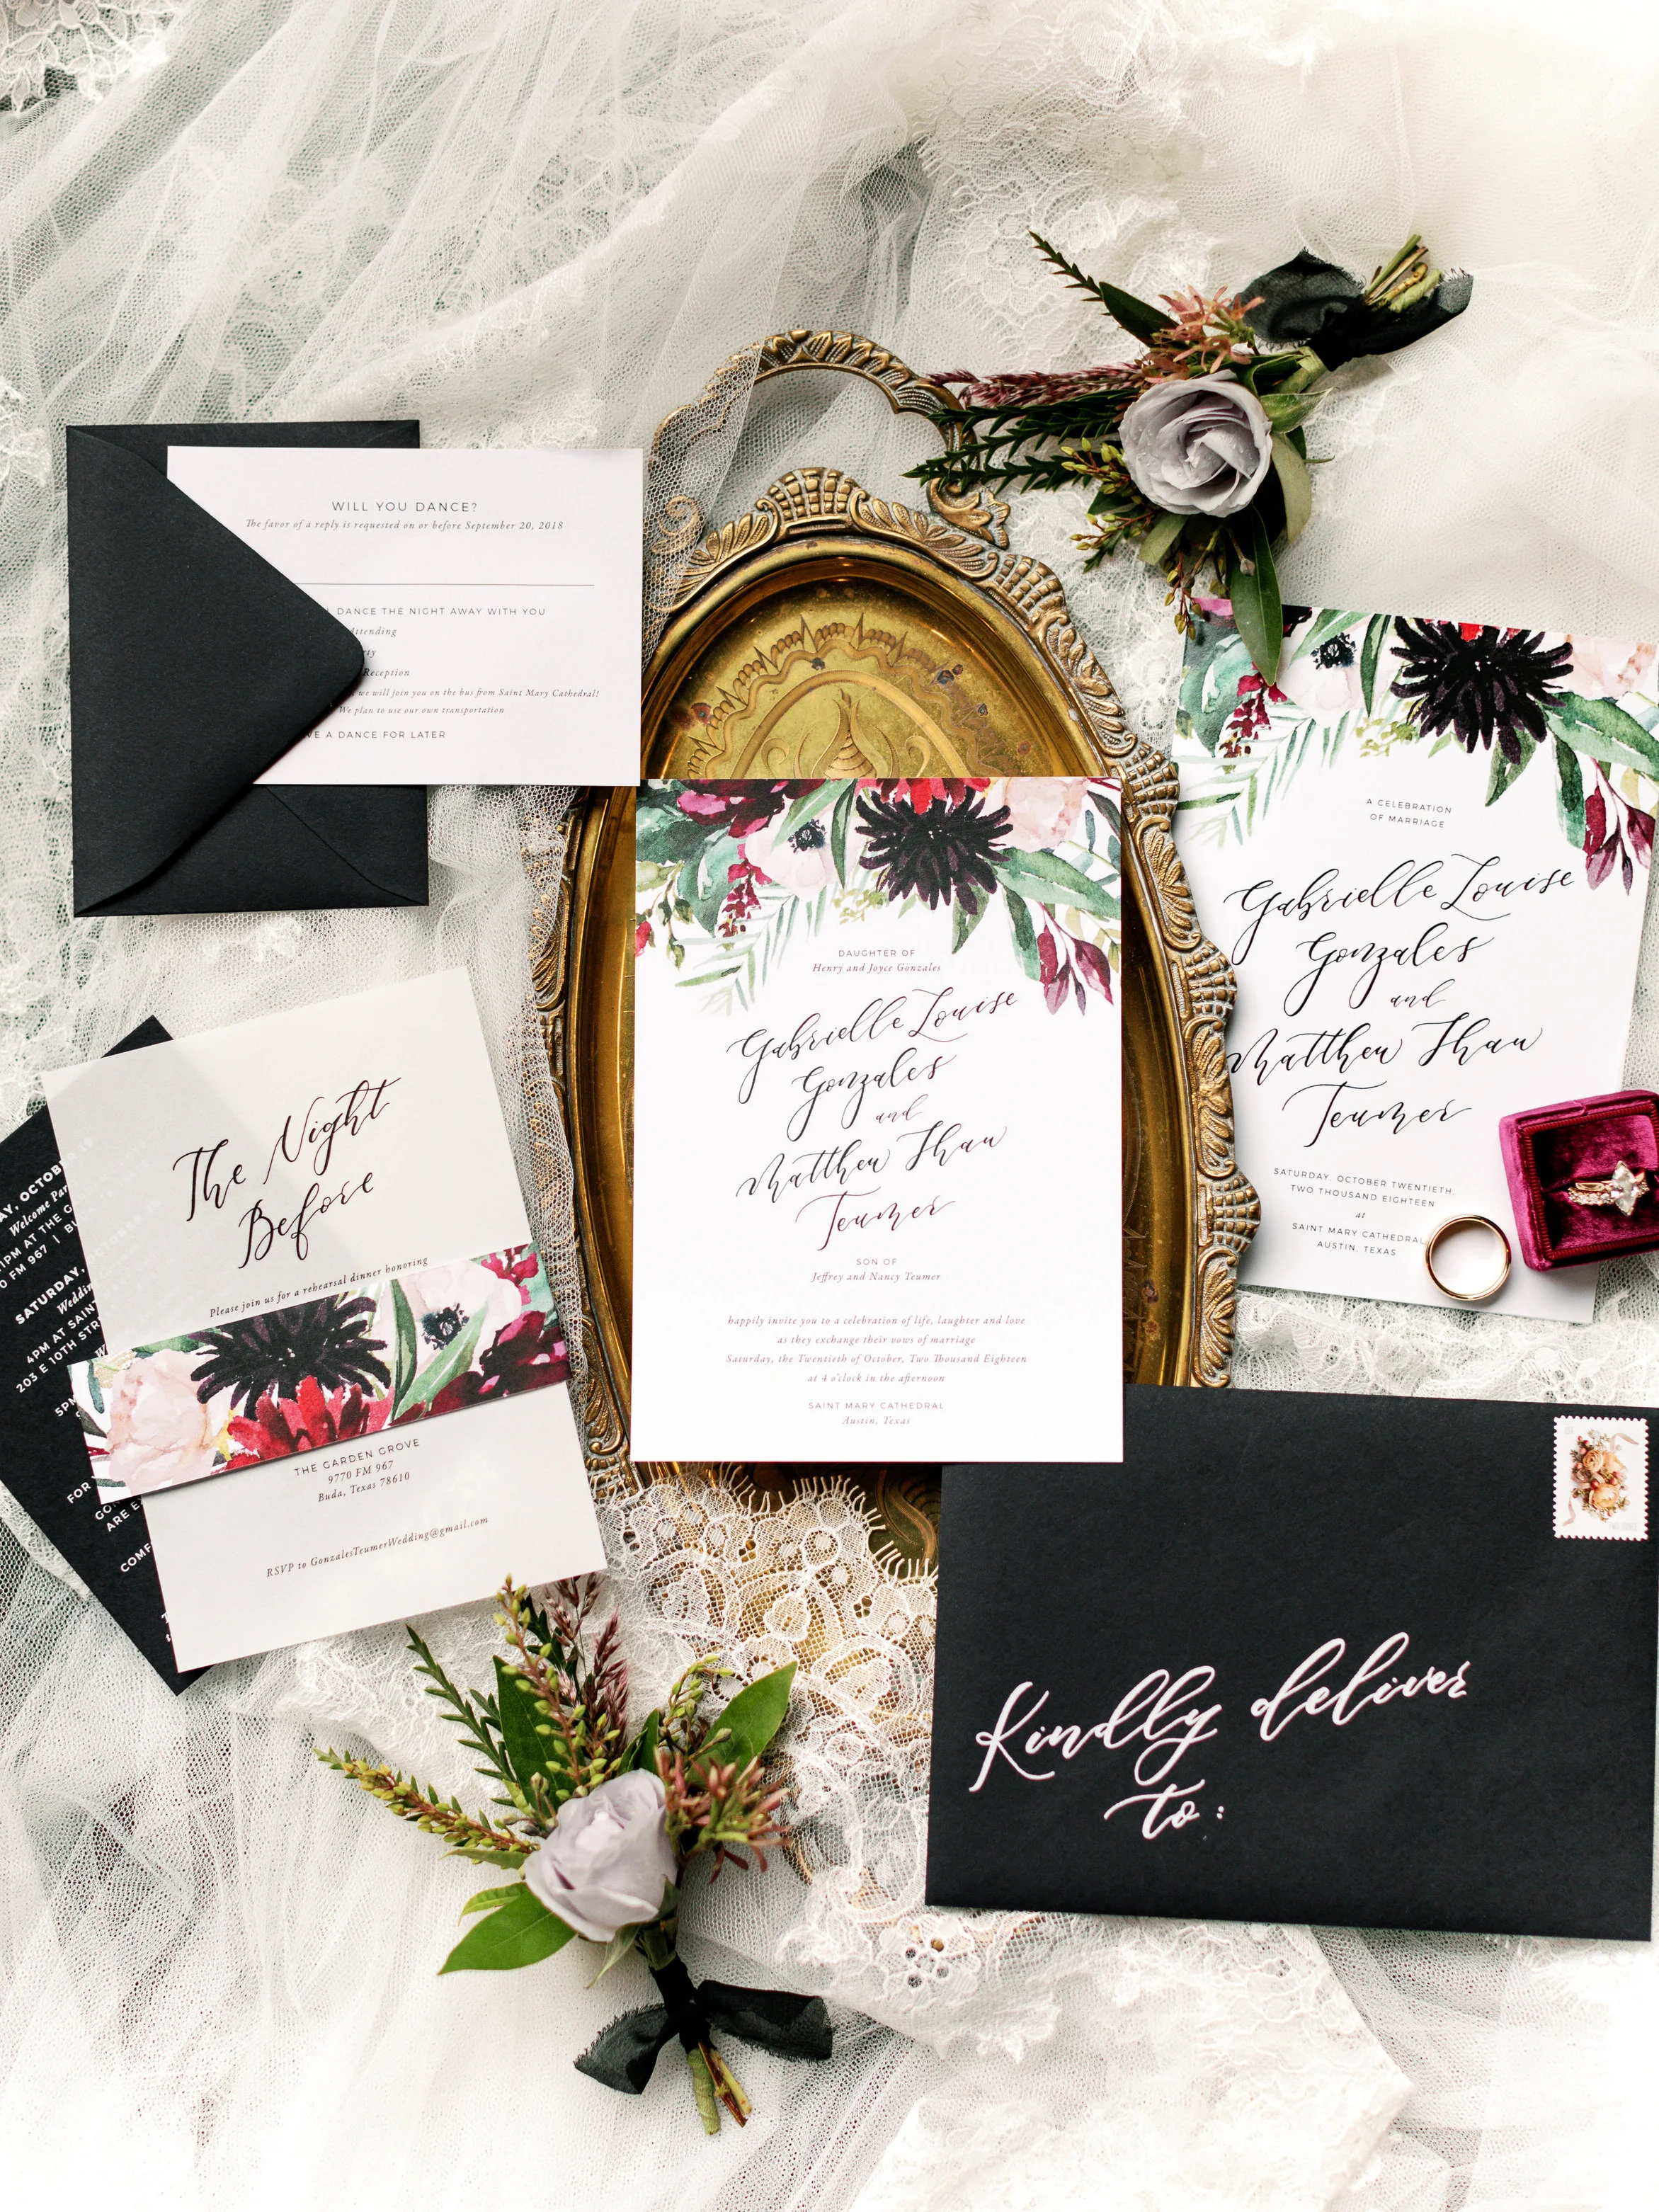
What are the pieces of an invitation suite?
An important thing to remember is — there are no set rules! It’s your wedding, and you can personalize it however you want! The most common pieces for an invitation suite are: invitation card, details card, response card+envelope, and outer envelope. However, as wedding websites become more and more popular, and offering online RSVP becomes more common, you could simplify and have just the invitation card and a website card with instructions to RSVP there. The details card can contain any of the following info:
accommodations
transportation (if you’re providing guest transportation)
reception info (in case your ceremony and reception are in two separate locations)
registry info
wedding website
dress code
But, as a stationery-nerd, I love the way multiple, cohesive pieces look stacked together. It can be so fun to create a thorough and expansive suite. (And oh so fun to photograph!) Here are some other options to include in your suites:
map card (this could also go on the back of a details card!)
timeline card (can also go on back)
rehearsal dinner invite
vellum wrap/overlay
envelope liner
inner envelope (very traditional, but elegant!)
bellyband/suite fastener (to tie the suite together!)
Some other fun embellishments include custom postage, wax stamps, pretty ribbon, and more. The options are endless!
What about postage?
More often than not, the one simple forever stamp doesn’t cut it. If your invitation suite is more than 1oz, or has any sort of bulkiness (like a ribbon tie or a wax seal), you will likely need a 2oz stamp, or potentially more. I 100% recommend taking a full suite into your local post office to have them weigh and advise. Always better to be safe than sorry!
You can also buy your postage stamps from your local post office, or online through USPS. If you want to get creative, you could go for vintage stamps. As long as they add up to the correct postage amount needed, you’ll be in great shape. (And since special vintage stamps can get pricey, consider having just one “keepsake envelope” with curated stamps & special calligraphy. You can use this for photographing and for keeping forever!
And save those forever stamps for your RSVP envelopes — you’ll need postage on those as well!

Feather & Twine
Feather & Twine